Fresh sprouts are a wonderful way to add flavor, texture and tons of nutrients to your favorite meals (and snacks, too!). From improving gut health to boosting your immune system, these tiny greens are the definition of “small but mighty.”
Growing any kind of sprouting seeds at home is incredibly easy—even if you have a “black thumb” when it comes to gardening. Plus, although helpful, you might not need to buy any special equipment if you already own a few kitchen basics.
In this guide, you’ll learn all about how to sprout seeds outdoors and indoors and the average time until harvest for the five most popular seeds. You’ll also find all our best sprouting pro tips throughout this article. So, let’s dig in together on this complete guide–with FAQs–on how to grow sprouts safely.
Store sprout seeds in a clean, dry place, out of direct sunlight at a maximum temperature of 70 degrees or less. Most seeds will keep good germination for three or more years if they’re stored according to these guidelines.
The U.S. Food and Drug Administration and other health organizations recommend that you use a soaking and sterilizing process for sprouting seeds, right before you start the growing cycle to prevent harmful bacteria growth.
Some recommendations include using chlorine, iodine or vinegar. Others advocate using a moderate water temperature, rather than hot water, as it may reduce germination rates. You’ll find step-by-step instructions for our preferred method later on in this guide.
Regardless of how you decide to sterilize the seeds, be sure to rinse them thoroughly with potable water after the soaking and sterilizing part of the sprouting process.
Lastly, it’s important to remember that all sprout seeds (including our seeds) still have the possibility of carrying pathogens, no matter what precautions and tests you implement prior to growing. Food safety precautions must be taken at every step to reduce possible contamination.
We encourage you to research the different options and decide what’s best for you.
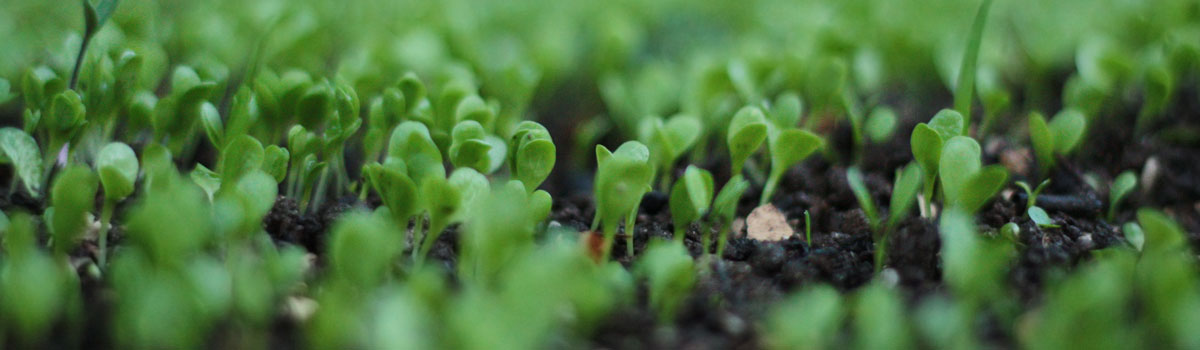
Planting your sprout seeds outdoors is one option. You'll need coir-based or organic potting soil, a container or garden bed and a location that gets a little sunlight. Here's how you start sprouting seeds outdoors in soil.
Before you can get your hands dirty, your sprouting seeds need to be sanitized and then awoken from their dormant state. You see, sanitizing your seeds is one of the most important steps of sprouting safely.
So, first you’ll soak seeds in apple cider vinegar or distilled white vinegar for 15 minutes. Use two tablespoons of vinegar for one heaping tablespoon of seeds for sprouting. Then, rinse the seeds until the smell of vinegar is gone.
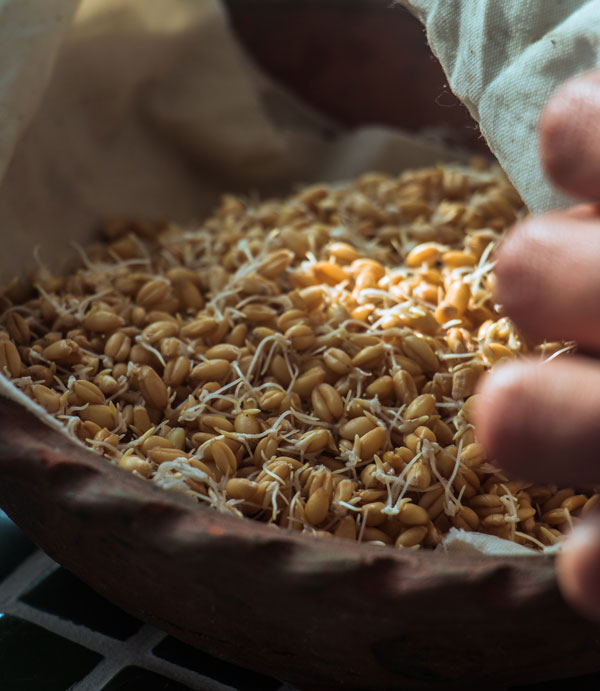
Next you have to soak the seeds in water to wake them from their dormant state. Without this step, some (or most) of your seeds might never sprout! Use three parts water to one part seeds. Add both to a jar or bowl and mix. Soak for six to eight hours, rinse and drain and you’re ready to plant.
You’ll want to leave about a one-inch gap between the container or bed’s rim and the top of the soil.
Remember—your seeds don’t need a lot of room to grow since you’ll be harvesting in a few days. A good rule of thumb is to plant your seeds at two or three times their width. (Read about planting depth and other tips here.)
Sprouts are at risk for developing mold issues if you overwater them. There should never be standing water or puddles around your seeds.
This can take anywhere from three to seven days or so, depending on your location’s climate.
The seeds will deplete the soil’s nutrients, so always swap in new soil between batches of seeds.
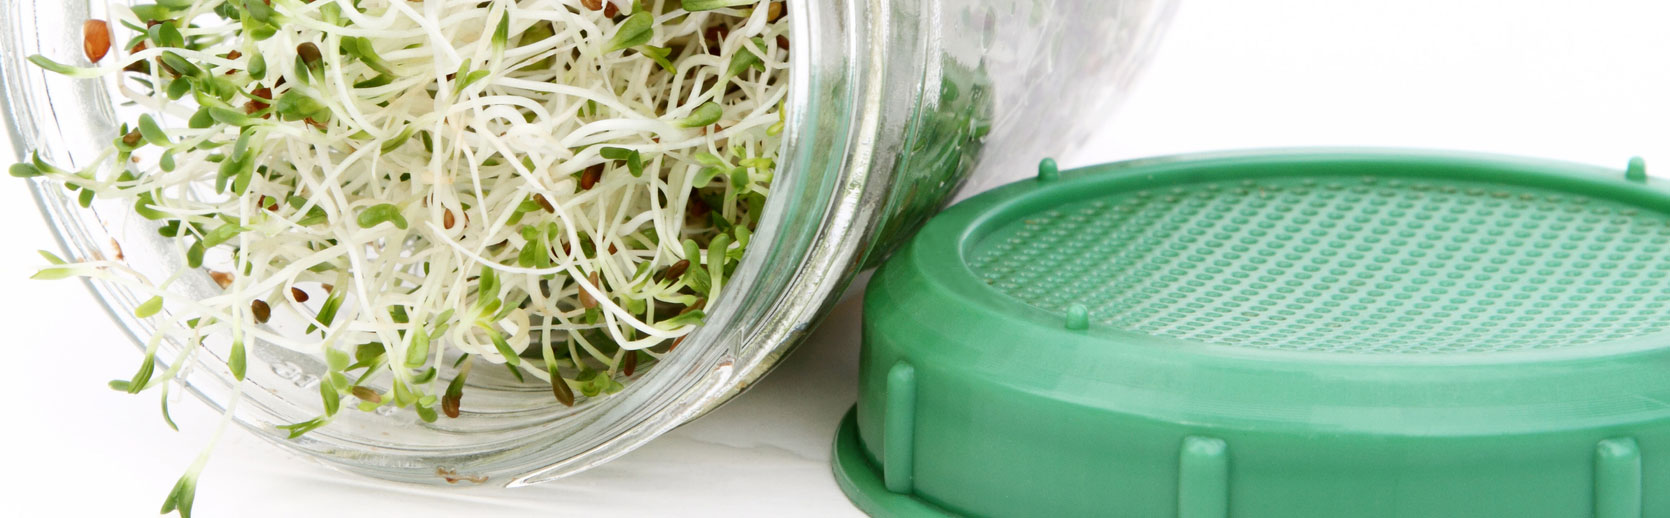
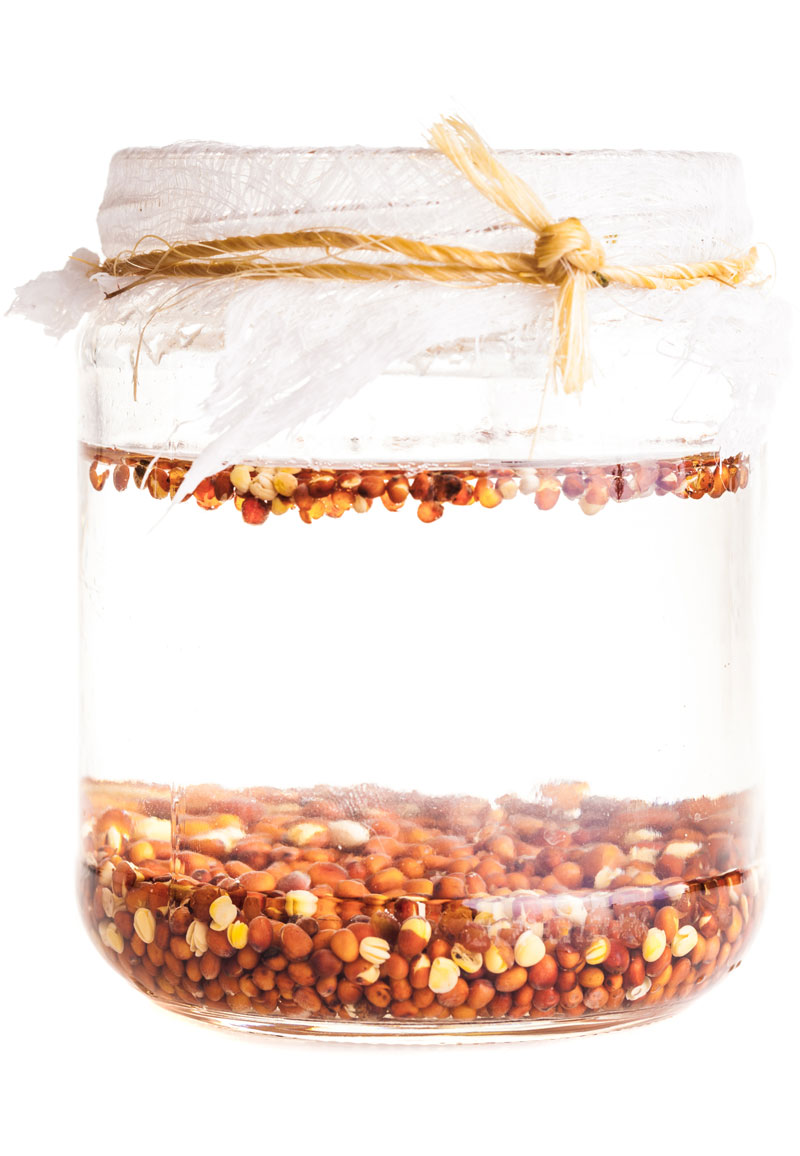
Sprouting your own seeds in a jar is one of the easiest and most low-maintenance ways to grow sprouts. You'll need a mason jar (ideally wide-mouth), a sprouting lid to fit that jar and a medium or large bowl. If you can't get a hold of a sprouting lid, a piece of cheesecloth and a rubber band works well, too.
Do this step exactly the same way whether you’re sprouting seeds indoors or outdoors. Sanitize your seeds and rinse until the vinegar smell is gone. Then, soak the seeds for six to eight hours (or overnight) in a jar with water as described above.
Using your sprouting lid or cheesecloth, drain the water out. Add in a splash of water, swirl the seeds around and drain thoroughly again.
Afterwards, place the jar at an angle in a bowl. The jar’s opening should lean against the bottom of the bowl. This is the best way to ensure maximum water drainage throughout the day.
Repeat the rinsing and draining three or four times a day until your sprouted seeds are ready to harvest. After each cycle, place the jar back into the bowl at an angle. Always drain any water in the bowl, too.
Once your sprouts are ready to harvest, place them all into a clean bowl and cover with water plus an inch or so. Lightly push the sprouts underwater and the leftover hulls will float up. Drain off the hulls and water, and you’re just about done.
One last tip: Let your sprouts completely air dry or pat them dry yourself before popping them into your fridge. This extra step can extend their shelf life by several days.
Nature Jim’s provides a wide variety of sprouting seeds
Buy Now
Here’s how much time you’ll need, on average, for the five most popular sprouting specific seeds:
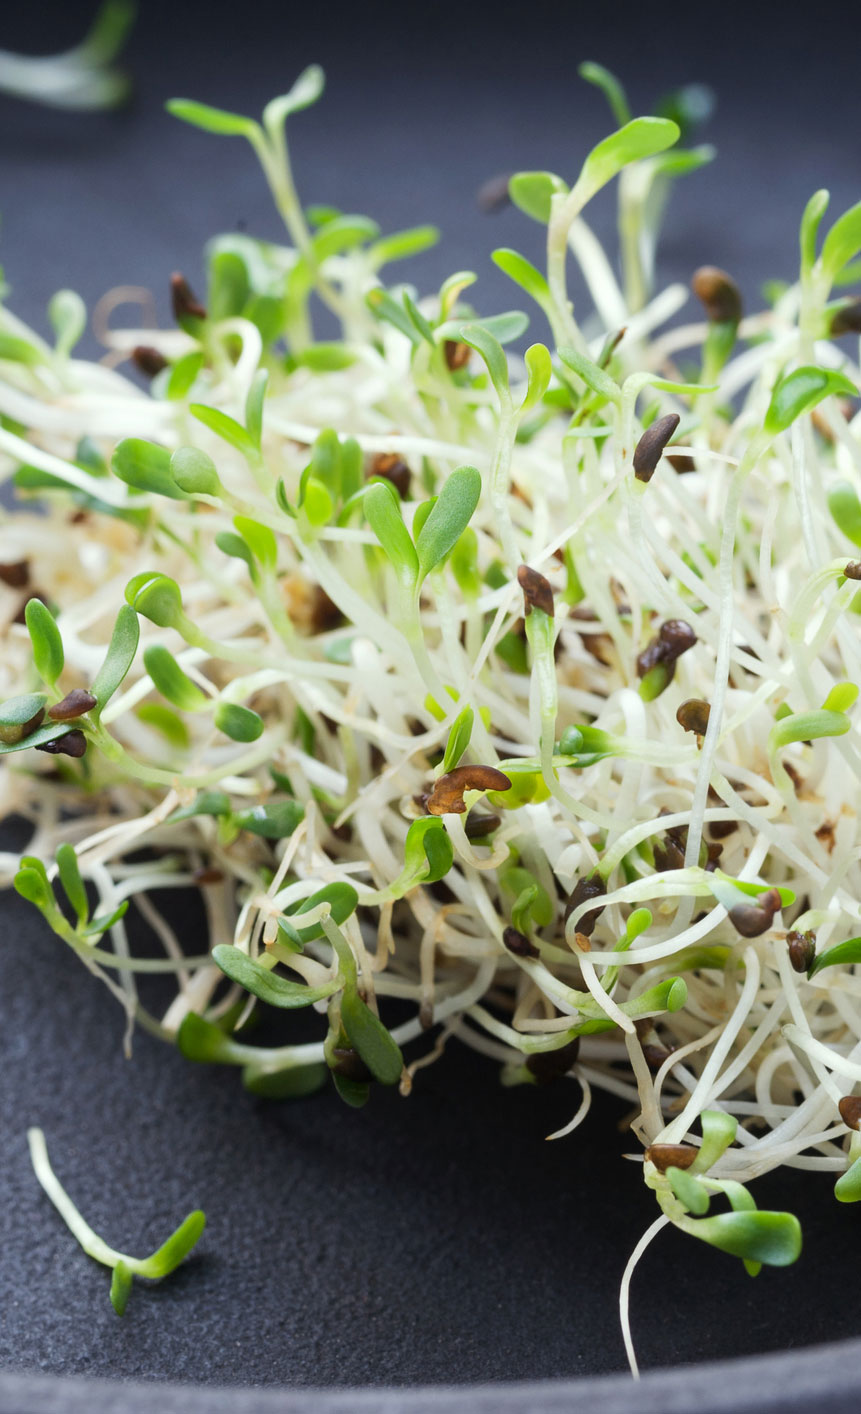
And keep in mind, just because you wake up one morning to find sprouted seeds doesn’t mean they’re quite ready. Alfalfa, for example, often sprouts within two to three days. But you don’t want to harvest them until they’re about three centimeters long, which happens around the fifth day.
Once you’ve sterilized and rinsed the sprouting seeds, you’re ready to start growing sprouts in your preferred method:


(or sprouting container)

Nature Jim’s recommends that you use YouTube and other online sources to find in-depth growing instructions for your sprouting seeds. YouTube has a large library with great step-by-step videos you can reference for your own growing cycle.
Remember, there is no single, perfect way to grow sprouts; all the most popular methods work very well. What’s important is to choose the method that works best for you. And if you want to combine your favorite ideas from a few different videos, go right ahead!
When your sprouted seeds are ready for harvest, gently remove them from whatever container they’re in—whether it’s a jar, sack or outdoor garden bed. They need one final rinse before you can dry and store them effectively.
You can do this final rinse however you like. A fine-mesh colander works well or you can use a mason jar. Just be mindful if you don’t use any kind of sieve, it’s easy for those little sprouts to wash down the drain during rinsing.
Now, you can’t just stash these damp sprouts in your fridge right away. Excess moisture causes greens like sprouts to mold faster. First drying your sprouts is an absolutely crucial step.
But luckily, there’s lots of easy ways to do so. You can lay them out on a clean kitchen or tea towel and let them air dry. You can also pop them into a salad spinner or pat them dry yourself with a second towel.
Once your sprouts are nice and dry, store them in your fridge. A breathable or ventilated container is ideal for maximum shelf life, but you can also use a plastic bag or sealed container. Check out our guide on how keep sprouts fresh.
With all this new knowledge, you’re ready to start sprouting seeds of your own in the comfort of your home. But as with any food, you should research both the seeds themselves and the company that sells them.
Here at Nature Jim’s, we’ve been passionate about helping people eat healthy since the 1950s. That’s why our sprouting seeds are non-GMO, proudly made in the USA and certified organic (excluding our non-organic Mung Bean Sprouting Seeds).
And our sprouting seeds come in a convenient, resealable bag to preserve freshness from the day you open the bag to the day you empty it. If you’re ready to start enjoying your own, home-grown fresh sprouts, you’re just a click away.